seed starting made easy

People aren't surprised when I tell them I start my own seeds. I've been gardening for over 12 years so it makes sense that I would start all of the seeds at this part of my journey. But there was a first time for me too! The first time I started seeds inside, I was a college student with very little extra money. So, I got peat pots and disks as well as a packet of seeds from the Dollar Store for 25 cents. I'm pretty sure it totaled $2.25. And I wasn’t growing much. I started small, just a pot of two and one was an herb I wanted to use in the kitchen so I had incentive. Fast forward 20 years later and now I get to encourage and support people starting their own seeds. Some want the entire set up, the lights and shelving system, the works. Other want to reuse their take out containers and some soil they have in the garden. It doesn’t matter how elaborate the set up. It’s the starting!
Starting your own seeds at home can be really fun and rewarding. When I mention it to new clients, they get hesitant, nervous and anxious, telling me it’s too hard and complex. Or that they don’t want more stuff for the garden, or the famous “I have a black thumb”. And although it may seem intimidating at first, it’s really quite simple and doesn’t require a lot of materials. I’m going to tell you the basics today so that you can get started this year and make your 2023 garden the best you can!
So why even start seeds instead of buying starts?
Starting seeds is all about control. We create an efficient environment for the best germination possible. We get to control the container, the soil, the quality of seed and the light. There are so many options out there it can be overwhelming for some, but it also makes it customizable. The seed starting setup that I have and that I love, may not be the best for someone else. But we have control of the seed and its environment. Whereas, buying starts, you are already buying a food product. Nurseries in Virginia are required to have a license and annual inspections authorized by the Plants and Plant Products Inspection Law. This means that they are held to different quarantine and raising requirements by the Department of Agriculture. All the control is gone. You don’t know how it’s grown, what conditions it’s been exposed to, what pests it has or has had to be treated for, etc. So you are already starting with a plant that has a background you don’t know about.
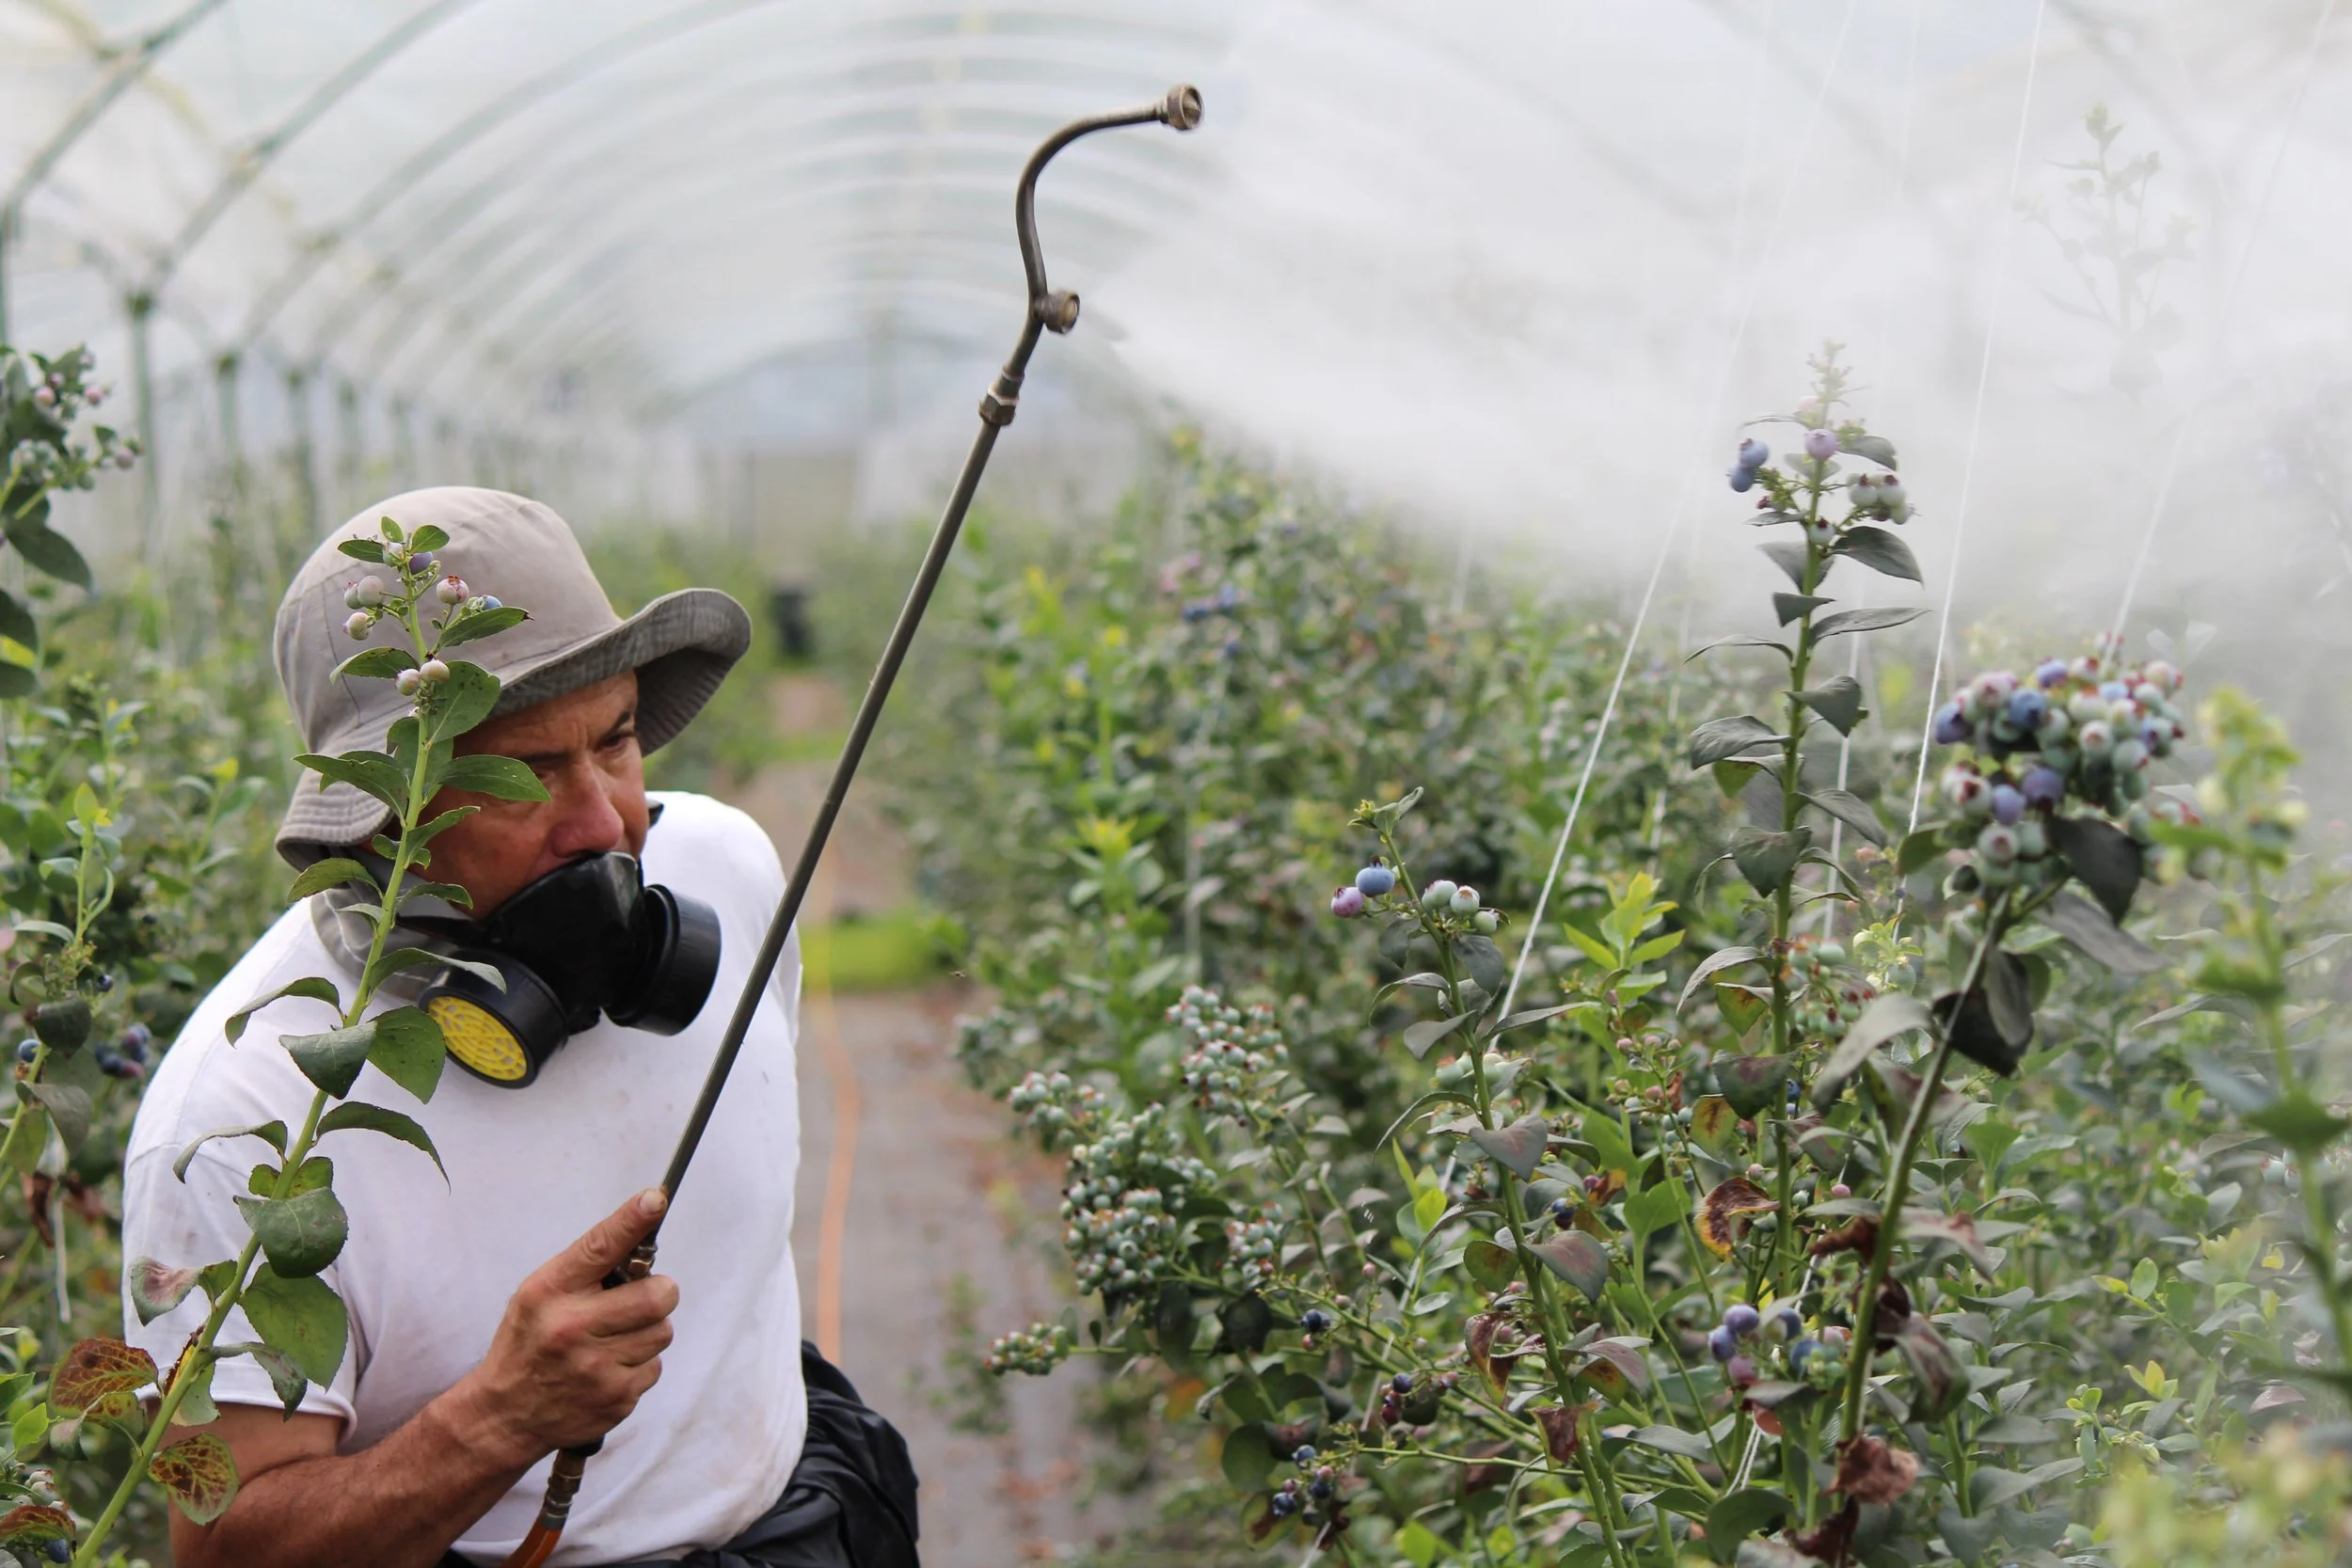
This is what bothers me. I like buying starts just like anyone, but when that plant comes to my environment, I have to quarantine it for a period of time before introducing it or planting it. It’s extra work, stress, and still has the potential for dying.
There is also much less variety when you buy starts. If I want to grow a Cherokee Purple tomato, I would have a difficult time finding it. And if I do, it will be much more expensive that other starts. Heirlooms always will be. And I still have to treat this plant as though it hasn’t been hardened off. So while there is less work in the beginning, there are still things you end up doing even when buying starts.
For me, it’s no question. I love the control. I know the plant I put outside and the end food product that I consume is a well cared for, nutrient dense, organically grown vegetable. What more could you want as a gardener! That last step from buying starts to starting seeds is a small one. All you need is the basics.
But Aerin, what are the basics?
The basics is quality products that are put together in an intentional way for success. You don’t want to get things haphazardly. You want to create your seed starting zone mindfully with the following components.
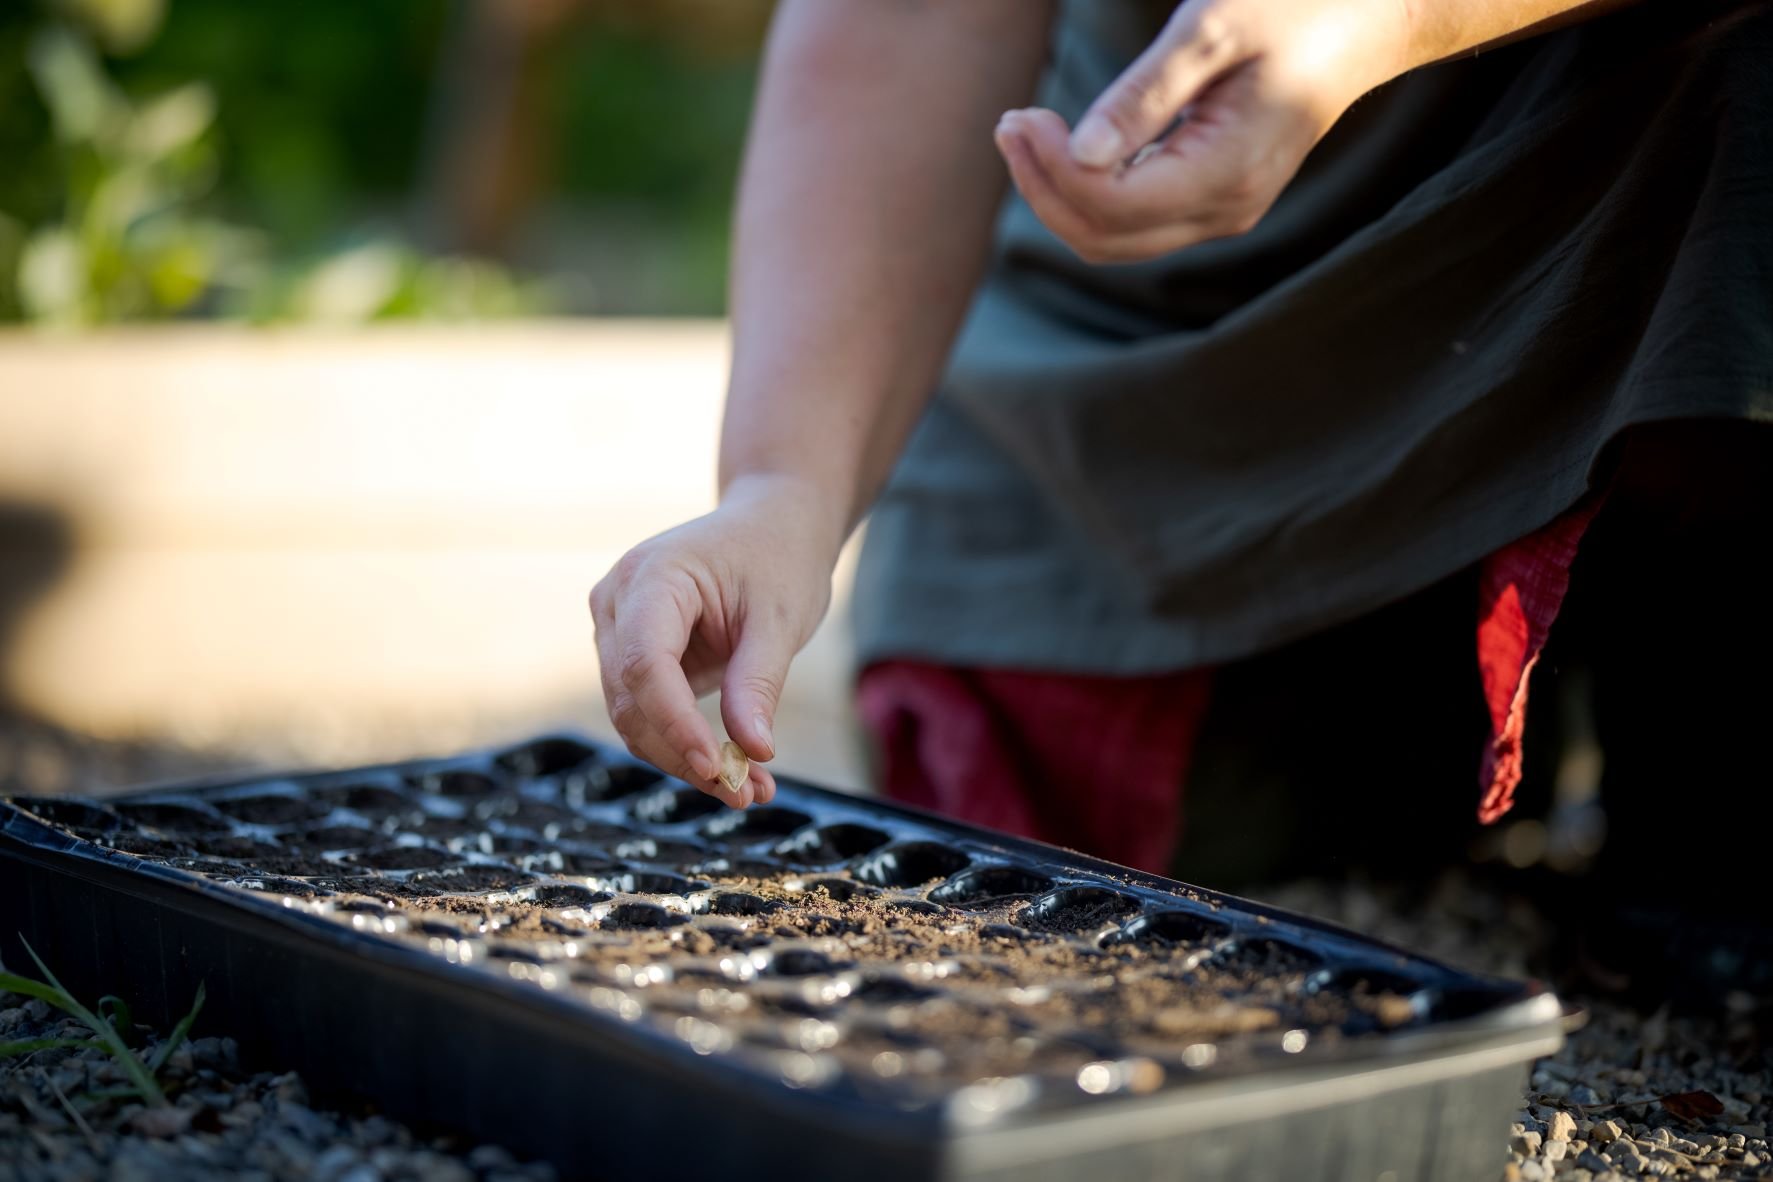
Container: A solid container with good drainage. It could be an old takeout container, it doesn’t have to be expensive. It should offer you enough space to sow your seeds at the right depth depending on what you are starting. And you should have the ability to bottom water. So be able to put the entire thing into a larger container full of water.
Starter mix: a sterile soil-less seed starting mix will give your seeds the best start it can. Mix is much lighter and fluffier than soil allowing for seeds to germinate easier. It also has good drainage and once sterilized releases a lot of pressure, of mold or fungi developing.
Sunny window or grow light: Think of your light exposure. Most seeds don’t need light to germinate but they do need light once they break the surface, grow their cotyledon leaves and start photosynthesizing. If you don’t get enough light (windows can also create leggy seedlings) consider grow lights. I find them to be much better for the plants growth with regards to their stem strength and health.
Quality Seed: The quality of the seed directly reflects the quality of the plant. You want your plants to have a good germination rate, grow uniformly, and have good overall health. Buying seeds from a reputable company who explains in detail their seeds is best.
That’s really it. When you really focus on what you actually need and you weed out the bells and whistles, you just need those four things.

However, any good garden coach, like myself, will want to set you up for success.
And recommend the type of set ups we’ve used in the past that was very successful. While the basics can get your seeds growing, you won’t necessarily have the best environment for healthy happy plants in your home. But that’s where we can coach you!
I recommend certain components to my clients to start their seeds for the most efficient and optimal growth when starting seeds indoors. And any product recommended is something i’ve used successfully and actually like using. This is not necessarily applicable to greenhouse growing as greenhouses have a very different environment than a home. If you have ever baked, you understand that proofing can change depending on the humidity levels in your home. Seeds with wet soil and heat are similar.
So here is what I recommend.
First, I recommend a growing rack. It’s a simple shelving unit that has multiple shelves that is 4 ft across. 4 ft wide is actually difficult to find but it’s out there. The width is important because lights (which I’ll get to in a minute) are often 4 ft long. And if your shelf is shorter than that you are wasting space that could be used with seeds.

It also allows you to put two 1020 trays long ways on the shelf which allows for more growing!
Seed trays: As I mentioned, you only need a container, but seed trays, particularly these by Bootstrap farmer, offer a nice small space for your seeds to germinate. You are able to bottom water them and they make for easy removal of the seedling when it’s time to pot them up.
This is also made of durable plastic and if you have to buy plastic, make sure it’s durable so you can use it year after year.
Quality seed starting mix: This is a personal preference among gardeners. Each one seems to develop their own. So if you want to buy a seed starting mix or make your own, it’s your choice. Just make sure it is soft, fluffy, and has good drainage. I personally like the Pro-Mix seed starting mix. It contains high quality peat moss, vermiculite and perlite.

I always sterilize it when growing in my home. So boiling water over the soilless mix in a large bowl before I add it to the trays. You always want to wet your mix before adding seeds.
Quality Seed: I have a lot of companies that I like. Some of the best germination rate I have found is with Botanical Interests . It’s one of the reasons I became an affiliate with them. I like the quality and variety of their seed. They are easy to find and have good customer service.

Good seeds can make a huge difference in the quality of your product and make your seed starting journey easier because of good germination
Lighting: I don’t recommend a sunny window if you can afford a light. I do recommend a full spectrum LED light as this will imitate natural light and help to produce strong healthy seedlings. Growing under lights is not the same as a window. You start out very close to the tray, only 6-8 inches above. You keep that distance but as the plant grows you adjust the light with it. This way you don’t get leggy seedling like pictured below.

So now, you have the fancy set up, or you’ve cultivated your own. You have the right location, the right containers, good quality starting mix and proper lighting. There are some tips to really help you have optimal seedlings for your garden this year!
Tip #1: When you first start your seeds, place a humidity dome of some kind over the trays. Of course Bootstrap Farmers has those for the 1020 seed starting trays. Humidity domes help to regulate the temperature and moisture needed to maximize germination. It’s always a good idea to keep your seeds in a warm humid environment and the dome creates that. It acts like a miniature greenhouse. And once your seeds have germinated and broke the service, you’ll want to remove the dome so as not to create too much moisture as the plant grows.
Tip #2: Be sure to place your seeds at the right depth in your seed cell. Each seed has different planting depths, some are right on the surface and others are deeper. Your seed packet should tell you at what depth to sow. So make sure you pay attention. If you plant seeds too deep, even if it does germinate it may not have enough energy to make it to the surface. So just take note of each seed's preferences.
Tip #3: Leave yourself space to pot up your seedlings. Many seeds get their first leaves within the first week or so after germination. If you have started tomatoes indoors 8-10 weeks out from your Estimated last frost date, that means you still have a ways to go before that plant goes outside. So you’ll need to pot it up. Meaning transplant your tiny seedling into a larger pot that has potting mix or soil in it. As your seedling grows, it needs nutrients to feed the roots which aren't present in the seed starting mix. And one try that has been sown can easily become 2-3 trays of larger pots. So leave yourself space to pot up your seedlings.

This sounds like a lot, is it really more cost effective?
Ironically, yes and no. In some cases it is not cost effective to grow your own veggies from seed. Because the lights and water and set up don’t give you the amount of product to make it work it. But that really depends on what you are growing. I highly recommend to everyone to grow their own food. But be wise about it. If you are a lettuce loving family, don’t start seeds inside. It doesn’t make sense. I’d start a garden inside instead! When you look at the seed to produce ratio, for example 1 seed = 1carrot versus 1 seed =20lbs of tomatoes, this is where you can determine whether seed starting is cost effective or not. In the long run, it is! Especially when growing a variety of vegetables. You’ll buy 1 packet of 200 carrot seeds for $2.25 and plant the entire packet through out the year and get 200 carrots. However, you’ll buy 1 packet of 35 tomato seeds for $3.75, each seed giving you anywhere between 12-40 lbs of tomatoes, even the low end of that means that you could get 420 lbs of tomatoes! Obviously most of us won’t plant that all at once, but you can see your return on investment with the big picture.
Starting seeds is a step on the journey of gardening. We don’t start there and we don’t all do it. But it is something we all look into. The best way to get started is to research the different types of seeds from foods you like to eat and the best methods for starting them. Gardening is all about trial and error, so don't be afraid to make mistakes - it's all part of the learning process! I’ve broken down the must have items to get you started on this journey and some tips to help you along the way. I encourage you to get your set up and your seeds started this year! I know you can do it.
Be sure to get my free seed starting guide today! You can find it on my home page.
Disclosure: This post may contain affiliate links, meaning I get a commission if you decide to make a purchase through my links, at no cost to you.